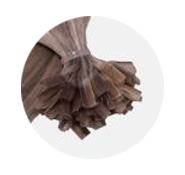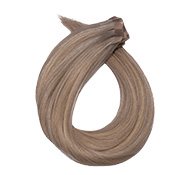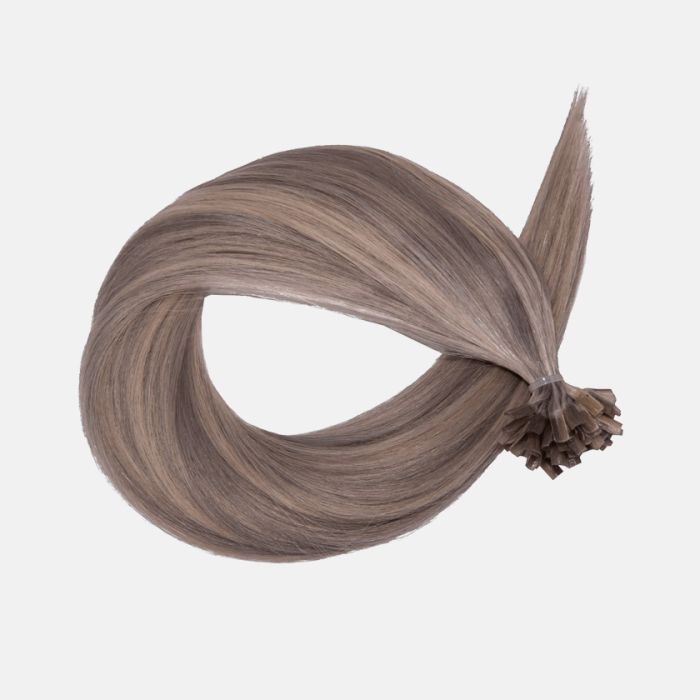
Our new Keratin Hair Extensions are made of 100% Virgin Cuticle Intact hair, a hair quality recognized to be among the world's best, with long-lasting durability.
Keratin extensions, also known as Nail-Hair, are installed using a fusion iron that melts thin strips of hair along the roots. This is the most permanent and long-lasting method for hair extensions. Keratin Extensions are hair strands that are attached with small keratin bonds that adhere very well to the hair. The bonds are thin and lightweight for the best and most natural results.
Keratin Hair Extensions are suitable for you if:
You want a long-lasting permanent solution.
You desire natural volume and/or length.
You have naturally healthy hair that can handle some wear and tear.
Installation and removal of Keratin Hair Extensions should be done by a hairdresser.
Recommended number of packages:
3-8 packages recommended depending on hair type/length/thickness and whether you desire volume and/or a full hair extension.
40 cm
Number of bonds: 20
Weight: 16 grams
50 cm
Number of bonds: 30
Weight: 24 grams
60 cm
Number of bonds: 40
Weight: 40 grams
Free shipping*
Enjoy free shipping on all orders above 1500 NOK within Norway when shipped through Bring. For international orders, we offer free shipping via DHL Express on orders exceeding 300 EUR.